
Contents
When the flood clock starts ticking, you need to move like a technician, not a tourist. Water Extraction starts by stopping the source, extracting standing water, and drying walls and floors quickly, then inspecting for mold before it spreads. From there, you clean, disinfect, and decide what stays or goes, because one missed step can turn a cleanup into a rebuild. The final safeguard is controlling moisture, and that’s where the details start to matter.
Key Takeaways
- Shut off the water source immediately to stop further flooding and prevent additional damage.
- Wear gloves, boots, goggles, and a respirator before removing standing water or handling contaminated materials.
- Use wet vacuums, pumps, towels, fans, and dehumidifiers to extract water and dry affected areas quickly.
- Remove and discard saturated drywall, insulation, or porous materials that will not dry completely.
- Clean, disinfect, and keep humidity below 60% to prevent mold growth and recurrence.
Stop the Water Source Fast
First, stop the water at its source as quickly as possible to limit further damage and reduce the risk of mold growth. You should locate the shutoff valve, close it fully, and verify the flow has ceased.
If you can’t isolate the source, contact a qualified plumber or utility provider right away. Use water detection tools, such as moisture sensors or thermal imaging, to pinpoint hidden leaks behind walls, under floors, or near fixtures.
Record the affected area so you can coordinate repairs and support leak prevention efforts. Then inspect nearby pipes, appliances, and roof penetrations for recurring failure points.
Acting fast protects your space, preserves materials, and keeps your home environment safer for everyone in it.
Remove Standing Water Safely
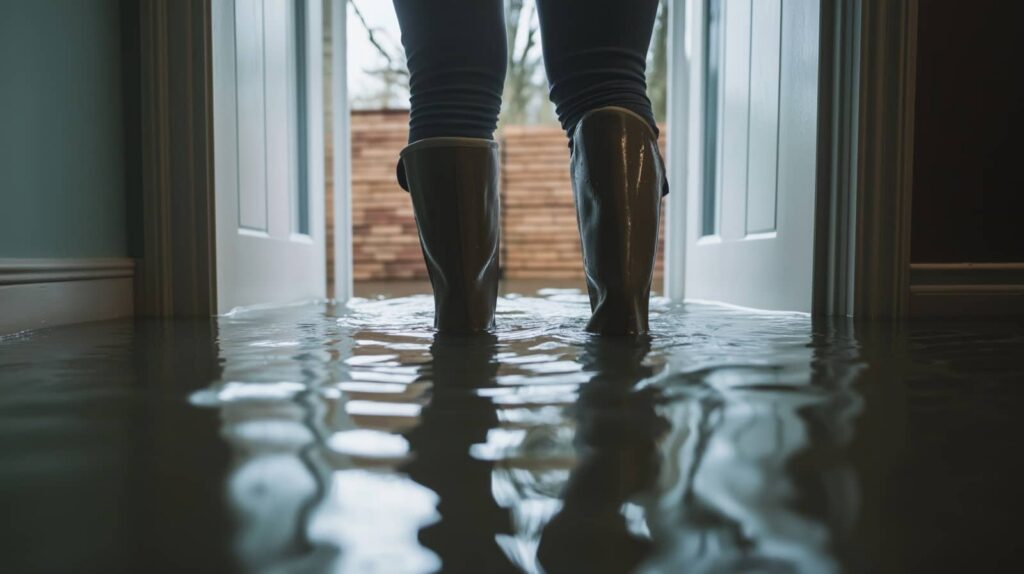
Once the source is shut off, remove any standing water as quickly and safely as possible to limit damage and slow mold growth.
Protect water safety by wearing gloves, boots, and eye protection before you begin. Use extraction methods that fit the volume: a wet vacuum for shallow puddles, a sump pump for deeper pooling, or absorbent towels for small areas.
Work from the outside in so you don’t spread contamination. If the water is from a flood, assume health risks are present and avoid skin contact.
Keep power off in affected spaces unless you’ve verified it’s safe. Good emergency preparedness means having pumps, buckets, and liners ready.
Fast removal supports flood prevention by reducing seepage and helping you stay ahead of mold growth.
Dry Water-Damaged Walls and Floors
You should first assess moisture levels in the walls and floors with a meter so you can identify areas that still hold water.
Next, improve airflow quickly by running fans and dehumidifiers to speed evaporation and reduce mold risk.
Remove any saturated drywall, insulation, or flooring that won’t dry fully, since trapped moisture can keep damage active.
Assess Moisture Levels
Before you dry water-damaged walls and floors, check moisture levels with a moisture meter so you know which materials still hold hidden water.
Take readings at several points on each wall, baseboard, and subfloor, then compare wet areas with nearby dry ones. You’re looking for elevated numbers that signal lingering moisture in hidden cavities, not just surface dampness.
This moisture detection step helps you decide what needs continued drying and what’s already stabilized. Record each reading so your team can track progress and avoid guesswork.
Keep humidity control in place by watching indoor conditions; if moisture stays high, materials may need more time before they’re safe to close up.
Accurate measurements help you work with confidence and protect your space.
Improve Airflow Quickly
Set up strong airflow right away to speed drying in water-damaged walls and floors. Open windows only if outdoor air is dry, then position box fans to push moist air out and pull drier air through the space.
Use ventilation techniques that create crossflow, not dead zones, so every corner gets moving air. Keep interior doors open to connect rooms and improve air circulation around baseboards, trim, and floor seams.
If you have a dehumidifier, run it in the driest adjacent area so it can support the airflow pattern without short-cycling. You’re not just drying materials; you’re protecting your home team from lingering dampness and helping the structure recover faster.
Check that vents, returns, and fan paths stay unobstructed, and adjust placements as moisture readings drop.
Remove Saturated Materials
Start removing saturated materials as soon as they’ve stopped serving as a drying surface and started trapping moisture. You should pull out soaked carpets, wet pads, and any baseboards that hold water against the wall.
Cut open drywall a few inches above the visible damage, then inspect for hidden saturation. If you find saturated insulation, remove it now; it won’t dry well in place and can feed mold.
Bag debris immediately and seal it to keep spores from spreading through your space. Expose framing, subflooring, and wall cavities so airflow can reach them.
Keep working methodically, and you’ll protect the rest of your home and everyone in it. When the structure feels dry, you can rebuild with confidence and rejoin a healthier, safer environment.
Remove Mold From Affected Surfaces
You should clean affected surfaces with the right method and PPE, then remove all visible mold without spreading spores to clean areas.
After removal, disinfect the surface to reduce remaining contamination and follow the product’s contact time exactly.
Finish by drying the area completely, since any leftover moisture can let mold return.
Safe Surface Cleaning
Before you clean, isolate the affected area and remove loose debris with a HEPA vacuum or damp cloth to limit spore spread.
Choose cleaning solutions matched to surface types: mild detergent works on hard finishes, while porous materials may need replacement instead of scrubbing.
Wear safety equipment, including gloves, goggles, and a respirator, and keep ventilation steady.
Apply cleaning techniques with controlled agitation, then wipe until residue disappears.
Work from the cleanest edge inward to reduce recontamination, and avoid oversaturating materials.
Consider environmental impact by using the least aggressive product that still removes growth.
Set cleaning frequency based on moisture history, and pair it with preventive measures like fixing leaks and improving airflow.
Finish by drying thoroughly and restoring surface protection where appropriate so your team stays confident and safe.
Disinfect After Removal
Once the visible mold and damaged material are removed, disinfect the exposed surfaces to reduce remaining contamination and limit regrowth.
You should choose disinfection methods that match the material and the contamination level, then follow the label exactly. Apply surface sanitizers to hard, nonporous areas with full coverage, and keep the required contact time so the product can work.
Wear gloves, eye protection, and a respirator if the area still holds dust or spores. Use clean cloths or disposable wipes, and replace them often to avoid spreading residue.
Work methodically from the cleanest zone toward the affected area. For our community of careful homeowners, this step helps you finish the job with confidence and prepare the space for the next phase.
Dry To Prevent Return
Dry the area completely as soon as the disinfected surfaces are safe to handle, since leftover moisture gives mold the conditions it needs to return.
You should run fans, dehumidifiers, and, where possible, HVAC systems to move air and pull water from porous materials.
Check baseboards, drywall edges, insulation, and hidden cavities with a moisture meter; if readings stay elevated, keep drying.
Remove wet contents that can’t dry fast enough, and separate them from clean items so your team stays organized.
Build mold prevention strategies into every step by sealing leaks, improving drainage, and monitoring problem rooms.
Use humidity control techniques to keep indoor levels below 60%, because stable, dry air helps you and your household prevent recurrence and protect the space.
Disinfect Surfaces and Materials
After you’ve removed standing water and cleaned away debris, disinfect all affected surfaces and materials to reduce the risk of lingering mold and bacteria.
Use approved cleaning solutions and follow label directions for contact time, dilution, and ventilation. Apply disinfecting techniques with a pump sprayer, microfiber cloth, or sponge so you cover seams, edges, and hidden spots where moisture lingers.
Wear gloves, eye protection, and an N95 or similar respirator if the area still smells musty. Work top to bottom and keep surfaces damp long enough for the product to act, then wipe dry.
For porous items, scrub thoroughly and rinse if the instructions require it. Stay consistent, and you’ll protect your space and help your team return with confidence.
Decide What to Save or Replace
With the space cleaned and disinfected, the next step is to decide which materials can be restored and which need replacement. You should inspect each item for warping, delamination, staining, odor, and hidden moisture.
Make a value assessment by comparing repair cost, safety, and long-term performance against replacement. Nonporous items often qualify for saving if they dry fully and show no structural damage.
Porous materials that stay swollen, crumble, or hold odor usually belong in the discard pile. Treat sentimental items separately: photograph them, document condition, and, if possible, consult a restoration specialist before you let them go.
Keep a clear inventory so you can track decisions and feel confident your home’s recovery stays organized, practical, and aligned with what matters most to you.
Stop Mold From Returning
Once the area is dry and the damaged materials are removed, you need to eliminate the conditions mold needs to regrow.
Keep indoor humidity below 60% with dehumidifiers, exhaust fans, and regular HVAC maintenance. Inspect plumbing, roofs, windows, and foundations for leaks, then seal gaps fast.
Clean and dry any new spills within 24 to 48 hours, and don’t store damp fabrics, cardboard, or wood against walls.
Use mold prevention strategies like monitoring basements, attics, and bathrooms weekly, especially after storms.
Improve airflow by opening closets, moving furniture from exterior walls, and running fans in stagnant rooms.
These humidity control tips help you protect your home, support your crew, and stay in control after cleanup.
Frequently Asked Questions
How Long Does Professional Water Extraction Usually Take?
Usually, you’ll see professional water extraction take 1 to 3 hours, depending on damage. Technicians use water extraction methods and drying equipment, then monitor moisture levels so you can feel confident the space’s restoration is thorough.
Can Hidden Mold Grow Inside HVAC Ducts After Flooding?
Yes, hidden mold can grow inside your HVAC ducts after flooding. You should inspect promptly, schedule HVAC maintenance, and use mold detection tools. If you act quickly, you’ll protect your air quality and your home.
What Insurance Documents Are Needed for Water Damage Claims?
You’ll need your policy number, photos, receipts, repair estimates, inventory lists, and loss date. Like a detective’s case file, strong documentation requirements support the claim process, helping you prove damages, speed approval, and belong among prepared homeowners.
How Soon Should a Home Inspection Follow Major Water Intrusion?
You should inspect your home within 24 hours after major water intrusion; faster limits hidden damage. Match inspection frequency to preventive maintenance, and you’ll protect your space, coordinate repairs, and stay confident with your community.
Are Air Scrubbers Necessary During Mold Remediation?
Not always, but you’ll often benefit from them. You should use air scrubbers when mold is widespread or disturbed; they improve air quality and supplement remediation equipment, helping protect your team and keep occupants included.
Review
By stopping the leak fast, you’ve cut off mold’s fuel supply. Next, you’ve removed standing water, dried walls and floors, and cleaned contaminated surfaces before spores could take hold. Disinfect what remains, replace what’s beyond recovery, and keep humidity low so moisture doesn’t return. Think of your space as a sealed ship: every dry, clean surface helps keep the infestation from spreading. Stay vigilant, and you’ll protect the structure and your health.
Recent Posts
Structural Drying for Flooded Property Restoration
When water invades a structure, both speed and strategy matter. Flooded property restoration starts by
What Is Structural Drying After Flooding
The majority of flood damage problems can worsen when moisture remains trapped in building materials,
5 Tips for Structural Drying After Flooding
After a flood, you need to act fast, or moisture can continue spreading behind walls