Contents
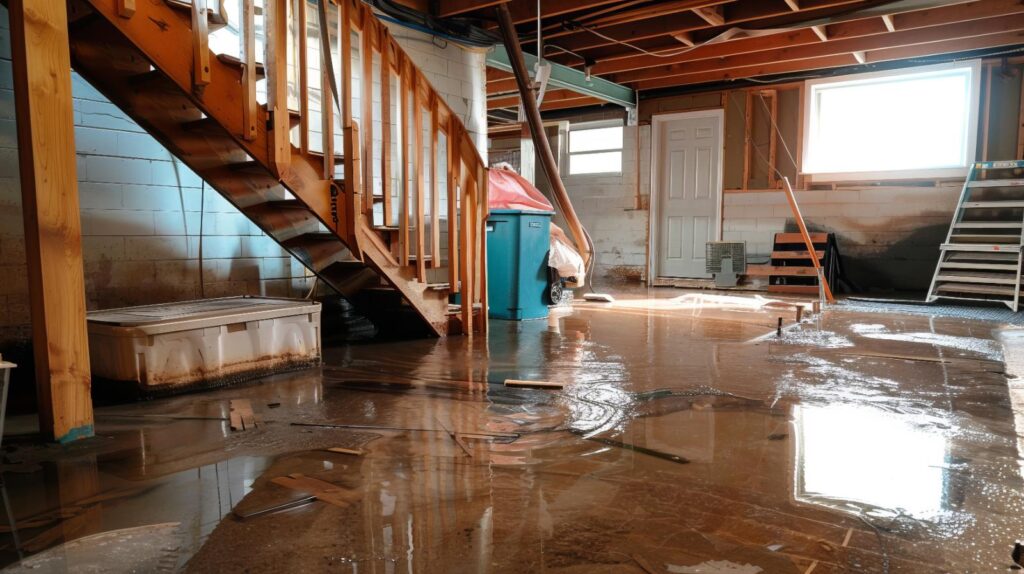
Imagine a basement flooded after a heavy rainstorm. You need efficient methods to tackle the water before it causes further damage. Understanding various DIY extraction techniques can make a significant difference in your cleanup effort. From using a wet/dry vacuum to creating your own dehumidifier, there are practical solutions available. Let’s explore these strategies to guarantee you’re prepared for any water intrusion situation.
Key Takeaways
- Use a wet/dry vacuum to efficiently extract water and debris from small to medium-sized areas.
- Employ absorbent towels or mops for spot cleanup, ensuring to use materials like microfiber for better absorption.
- Create a homemade water absorbent by mixing baking soda with essential oils to tackle spills effectively.
- Utilize fans to increase air circulation and aid in drying out affected areas after water removal.
- Implement a submersible pump for larger areas, ensuring it’s positioned in the deepest part for optimal water extraction.
Use a Wet/Dry Vacuum for Immediate Water Removal
When water intrusion occurs, using a wet/dry vacuum can be your best first line of defense for immediate water removal. These versatile machines efficiently pick up both liquid and debris, making them ideal for tackling excess water.
Start by ensuring the vacuum’s filter is appropriate for wet use, as this will enhance its performance. Next, position the vacuum nozzle at the water’s edge, allowing it to suck up the maximum volume quickly. Move systematically across the affected area, avoiding missed spots that can lead to mold growth.
Empty the vacuum’s tank regularly to maintain peak suction power. After you’ve extracted the water, remember to check for hidden pockets of moisture that might persist.
A wet/dry vacuum not only accelerates the removal process but also minimizes potential damage to your property. With this tool in hand, you’re taking a proactive step toward safeguarding your space and belongings.
Employ Towels and Mops for Spot Cleanup
When tackling smaller areas of water damage, using the right towels and mops is essential for effective cleanup.
You’ll want to choose absorbent materials and apply effective mopping techniques to maximize water removal.
After you’ve cleaned up, drying tips will help prevent mold and further damage, ensuring your space stays safe and dry.
Choosing the Right Towels
Selecting the right towels and mops is essential for effective water extraction and cleanup. You’ll want materials that absorb water effectively and are easy to wring out. Here’s a quick comparison to help you choose:
| Towel Type | Best Use |
|---|---|
| Microfiber | High absorption, quick drying |
| Cotton | Versatile, strong durability |
| Terry Cloth | Soft, ideal for gentle surfaces |
Microfiber towels are excellent for quick spills, while cotton towels are great for larger areas. Terry cloth is perfect for delicate surfaces that require extra care. By understanding these options, you’ll enhance your cleanup efficiency and feel more confident in your DIY efforts.
Effective Mopping Techniques
Using the right towels and mops can greatly enhance your water extraction efforts. To effectively clean up spills, follow these techniques:
Soak and Press: Use absorbent towels to soak up excess water. Press down firmly to extract as much moisture as possible without rubbing, which can spread the water.
Mop with Purpose: Utilize a microfiber mop for larger areas. Move in a figure-eight pattern to guarantee you’re covering all surfaces without pushing water around.
Rinse and Repeat: Don’t forget to rinse your mop regularly in clean water. This prevents redistributing dirt and guarantees a thorough clean.
Drying Tips After Cleanup
After you’ve completed the initial cleanup, it’s crucial to shift your focus to drying to prevent mold and mildew growth.
Start by using absorbent towels to blot up any remaining moisture. Make sure to press down firmly; this helps draw out water from carpets and upholstery. For larger areas, mops can effectively soak up excess liquid.
Once you’ve tackled the visible moisture, consider setting up fans to increase air circulation. Dehumidifiers can also be beneficial, especially in closed spaces.
Rotate your towels and mops frequently to guarantee you’re using dry materials. The goal is to create a dry environment as quickly as possible, fostering a safe and inviting space for everyone.
Your proactive efforts are key to preventing future issues.
Utilize a Submersible Pump for Large Areas
When tackling water extraction in large areas, a submersible pump stands out as an efficient solution. These pumps are designed to operate underwater, making them ideal for removing large volumes of water quickly and effectively.
To maximize your results, keep the following tips in mind:
Choose the Right Pump: Select a submersible pump that suits your specific needs, considering the flow rate and maximum head height for effective water removal.
Set Up Properly: Position the pump in the deepest part of the affected area. Confirm the discharge hose directs water away from the site to prevent re-flooding.
Monitor Performance: Regularly check the pump’s operation to address any clogs or malfunctions promptly, confirming continuous water extraction.
Make a Homemade Water Absorbent With Baking Soda
Baking soda is an effective water absorbent due to its porous nature and chemical properties.
To utilize it for cleanup, you’ll need to follow specific absorption techniques that maximize its efficiency.
After using baking soda, there are important cleanup tips to guarantee your space is left dry and tidy.
Baking Soda Properties Explained
One of the most versatile household items, baking soda, possesses remarkable properties that make it an effective water absorbent. Its unique chemical structure allows it to interact with moisture, making it ideal for various cleanup tasks.
Here are three key properties of baking soda that contribute to its absorbent capabilities:
Porosity: Baking soda’s fine granules create a large surface area, allowing it to trap moisture effectively.
pH Neutrality: It doesn’t alter the pH of the surface it’s applied to, making it safe for various materials.
Odor Neutralization: Beyond absorbing water, it also neutralizes odors, leaving spaces feeling fresh.
Understanding these properties empowers you to utilize baking soda efficiently in your DIY water extraction efforts.
Absorption Technique Steps
To effectively create a homemade water absorbent using baking soda, start by gathering the necessary materials and preparing your workspace.
You’ll need baking soda, a bowl, and a clean container for storage.
Begin by measuring out one cup of baking soda and pouring it into the bowl. Next, add a few drops of essential oil if you’d like a pleasant scent.
Mix the ingredients thoroughly with a spoon until well combined. Once you’ve achieved a uniform texture, transfer the mixture into your clean container.
Label the container for easy identification.
When you face water spills, simply sprinkle this absorbent over the affected area. Allow it to sit for a few hours before sweeping or vacuuming the residue for effective cleanup.
Cleanup Tips After Use
After you’ve used your homemade water absorbent, it’s essential to follow the right cleanup steps to guarantee your space remains tidy and free of residue.
Proper cleanup guarantees that your efforts yield lasting results and fosters a sense of community well-being.
Dispose of Used Materials: Gather and discard any soaked baking soda and debris into a sealed trash bag to prevent further mess.
Vacuum the Area: Use a vacuum to remove any loose particles or leftover baking soda. This keeps your space clean and minimizes allergens.
Mop the Surface: Finally, damp mop the area with a mild detergent to eliminate any remaining residue and restore shine.
Create a DIY Dehumidifier With Rock Salt
Creating a DIY dehumidifier with rock salt can be an effective solution for reducing moisture in your home. Rock salt, or sodium chloride, naturally absorbs water from the air, making it a simple yet powerful tool for humidity control.
To make your dehumidifier, start by placing a few cups of rock salt in a breathable container, like a mesh bag or a bowl with holes. Position it in areas prone to dampness, such as basements or bathrooms.
You’ll notice the salt gradually clumps up as it absorbs moisture. To maintain its effectiveness, replace the salt every few weeks or when it’s fully saturated.
This method not only helps reduce humidity but also promotes a healthier indoor environment, preventing mold and mildew growth. Incorporating this DIY solution into your home maintenance routine fosters a sense of belonging, ensuring your living space remains comfortable and inviting for you and your loved ones.
Implement Fans and Ventilation for Drying
When dealing with excess moisture, implementing fans and proper ventilation can greatly expedite the drying process.
By strategically positioning fans and ensuring airflow, you can reduce humidity levels and promote faster evaporation.
Here are three effective steps to follow:
Position Fans Wisely: Place fans in areas with the highest moisture concentration. Aim them towards walls or corners to maximize air circulation.
Open Windows and Doors: Increase airflow by opening windows and doors. This encourages cross-ventilation, allowing fresh air to replace damp air.
Use Dehumidifiers: If available, combine fans with dehumidifiers. This duo works effectively to pull excess moisture from the air, enhancing the drying process.
Use a Squeegee for Surface Water Extraction
While fans and ventilation are key to reducing humidity, another effective method for managing excess water is using a squeegee for surface extraction. This tool efficiently removes standing water from floors, countertops, and other flat surfaces, helping to prevent further damage and mold growth.
Start by positioning the squeegee at one end of the affected area. Use a firm, steady motion to push the water toward a drain or out of the space. Be certain to angle the squeegee slightly to guide the water effectively, collecting it in a centralized location.
It’s crucial to work systematically to guarantee you’re not just displacing water to another area. After you’ve extracted the majority of the water, follow up with drying methods, like fans or towels, to eliminate residual moisture.
Using a squeegee not only speeds up the cleanup process but also fosters a proactive approach to water management in your home.
Final Thoughts
In the face of water damage, your proactive measures symbolize resilience against nature’s unpredictability. By employing these DIY extraction methods, you not only restore your space but also cultivate a deeper understanding of maintenance and preparedness. Like a sturdy dam holding back a river, your efforts consolidate control over chaos, ensuring that future storms won’t wash away your hard work. Embrace these techniques as tools for safeguarding your home and empowering your ability to confront challenges head-on.
Recent Posts
7 Tips to Prevent Water Damage
Water damage can wreak havoc on your home if you’re not careful. To protect your
Top Tips to Prevent Water Damage Effectively
It’s often said that water damage is inevitable in any home, but is it really?
3 Best Ways to Prevent Water Damage
Imagine discovering a hidden leak in your basement that’s already caused significant damage by the