Contents
Flooding can devastate your property in ways you might not even imagine. To effectively tackle the aftermath, you need a systematic approach that starts with evaluating the flood damage and ends with thorough inspections. Each step—water extraction, drying, mold remediation, and structural repair—requires precision and attention to detail. Understanding this process is essential, as neglecting any part could lead to further complications down the line. What’s the first step in ensuring your property is safe and sound?
Key Takeaways
- Assess and document structural damage, including cracks and compromised materials, to guide the repair process effectively.
- Utilize appropriate water extraction techniques, such as pumps and vacuums, to remove excess water quickly.
- Implement drying and dehumidification methods to prevent mold growth, monitoring humidity levels throughout the process.
- Conduct thorough mold remediation, including containment and safe removal of contaminated materials, to ensure a healthy environment.
- Repair and restore affected structures using durable, water-resistant materials, documenting all work for insurance claims.
Assessing the Damage
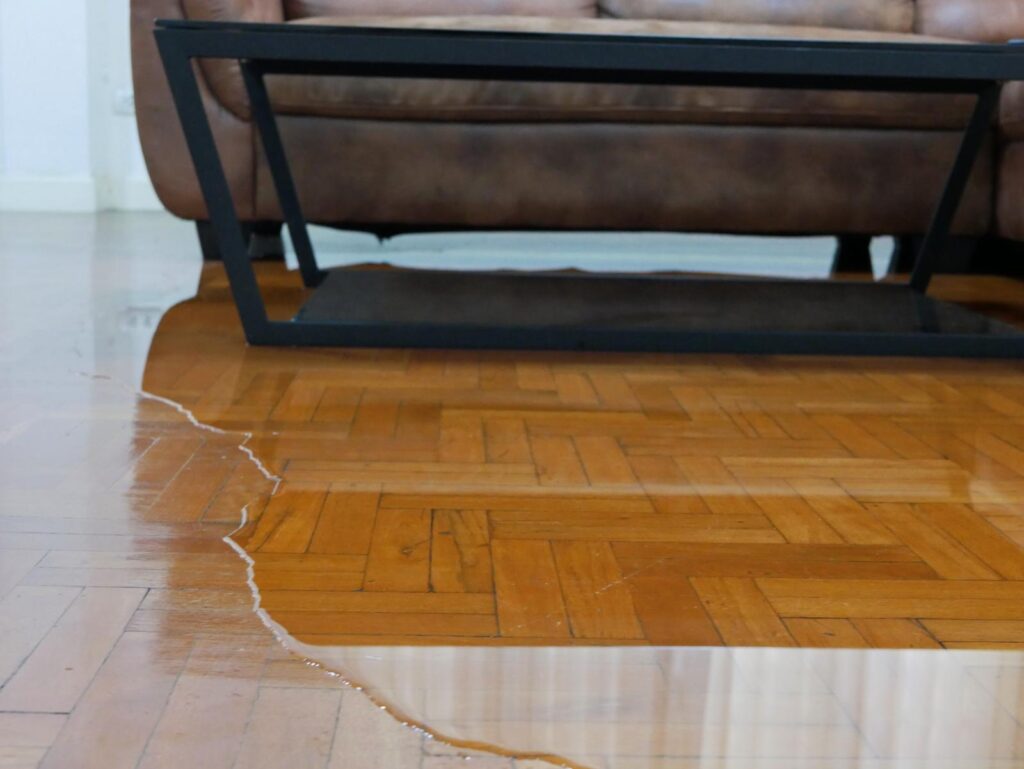
When evaluating the damage caused by flooding, it’s crucial to conduct a thorough examination of both the property and its contents.
Start by reviewing the structural integrity of the building. Check for visible cracks in walls, sagging ceilings, and compromised foundations. Document these findings with photos and notes for your records.
Next, inspect the flooring—wood, tile, and carpet may all have different levels of damage. Move to the electrical systems; verify that wiring and outlets are dry and functional.
Don’t forget to evaluate personal belongings, as water damage can ruin items beyond repair. Make a detailed inventory of affected items, noting their condition.
This systematic approach not only helps in determining the extent of damage but also aids in insurance claims. By being meticulous in your review, you’re laying the groundwork for effective repairs and restoration, guaranteeing your property returns to its former state.
Water Extraction Techniques
Effective water extraction is a critical first step in the flood damage repair process, as it minimizes further damage and begins the drying process.
You need to utilize the right techniques to guarantee thorough water removal. Here are some essential methods to take into account:
- Submersible Pumps: Ideal for deep water, these powerful pumps can quickly remove large volumes of water.
- Wet/Dry Vacuums: These versatile tools are perfect for smaller areas, allowing you to tackle residual moisture in carpets and hard surfaces.
- Water Extraction Tools: Specialized equipment, like extraction wands, can help you reach tight spaces and extract water from porous materials effectively.
Drying and Dehumidification
After water extraction, rapid drying is vital to prevent further damage and mold growth.
You’ll need to implement effective dehumidification techniques to guarantee that all moisture is removed from affected areas.
Understanding these methods will be pivotal for restoring your space to its pre-flood condition.
Importance of Rapid Drying
While you mightn’t realize it, the speed at which you dry out a flooded area considerably impacts the overall repair process. Rapid drying is essential for minimizing damage and preventing mold growth.
Here are some key reasons why you should prioritize quick drying:
- Prevents Structural Damage: Prolonged moisture can weaken materials like wood and drywall.
- Reduces Health Risks: Mold and mildew thrive in damp environments, posing health hazards.
- Shortens Repair Time: Swift drying expedites the entire restoration process, allowing for quicker recovery.
Dehumidification Techniques Explained
Once you’ve taken steps for rapid drying, implementing effective dehumidification techniques is essential for achieving ideal results.
Start by using commercial dehumidifiers, which are designed to extract moisture from the air efficiently. Position them strategically in affected areas, ensuring airflow isn’t obstructed.
Monitor humidity levels regularly; you should aim for a range between 30-50% to inhibit mold growth. Additionally, consider fans to enhance air circulation, further speeding up the drying process.
If possible, open windows to facilitate cross-ventilation, but be cautious of external humidity levels. Finally, inspect and empty dehumidifier tanks frequently to maintain efficiency.
Following these methods will help you achieve optimal moisture removal and protect your property from further damage.
Mold Remediation Procedures
Because mold can begin to grow within 24 to 48 hours after a flood, it’s crucial to initiate remediation procedures promptly.
Start by evaluating the affected areas and identifying the extent of the mold growth. You’ll want to wear protective gear, including gloves and a mask, to guarantee your safety during the process.
Here’s a simple outline of key steps you should follow:
- Containment: Seal off affected areas to prevent spores from spreading.
- Removal: Safely eliminate contaminated materials, such as drywall and carpeting.
- Cleaning: Use appropriate antimicrobial solutions to clean surfaces and prevent future growth.
Once you’ve completed these steps, monitor humidity levels to maintain a dry environment.
Structural Repair and Restoration
After addressing mold concerns, it’s time to focus on structural repair and restoration.
Begin by evaluating the extent of the damage to your foundation, walls, and framing. You’ll want to inspect for any signs of warping, cracking, or instability. Remove any compromised materials, like drywall or insulation, to prevent further issues.
Once you’ve identified the damaged areas, replace or reinforce structural elements as necessary. Use water-resistant materials where applicable to fortify against future flooding.
For wooden structures, consider treating them with sealants to enhance durability.
If your flooring has been affected, make certain that you choose materials suitable for high-moisture environments.
After repairs, check that all structural elements are level and secure.
Finally, remember to document your work—this can be crucial for insurance claims and future reference. Your diligence here lays the groundwork for a resilient home.
Final Inspection and Prevention Measures
A thorough final inspection is essential to guarantee that all repairs are effective and meet safety standards. After completing the repairs, you should systematically assess the premises to ascertain everything is secure and functioning as intended.
This final check not only confirms the integrity of the repairs but also helps mitigate future risks.
Consider these key aspects during your inspection:
- Waterproofing Measures: Verify that all areas are properly sealed to prevent future water intrusion.
- Electrical Systems: Inspect wiring and outlets for safety and functionality, ensuring they comply with codes.
- Structural Integrity: Check for any signs of settling or damage that may have arisen during the repair process.
Once you complete the inspection, implement preventive measures.
Regular maintenance, timely repairs, and education on flood risks can notably reduce future damage, fostering a safer environment for you and your community.
Recap
In tackling flood damage, you face the contrast between chaos and order. While the aftermath may seem overwhelming, following a structured repair process brings clarity and hope. By evaluating damage, extracting water, and implementing drying techniques, you’ll create a mold-free environment. Structural repairs restore safety and durability, ensuring your space is resilient against future threats. Finally, with thorough documentation and preventive measures, you’ll transform adversity into a well-managed recovery, safeguarding your investment and peace of mind.
Recent Posts
Steps for Urgent Commercial Water Damage Recovery
Imagine arriving at your commercial property to find several inches of water covering the floor
Guide to Structural Drying After Water Damage
When faced with water damage, it’s essential to act swiftly and methodically. You’ll need to
Effective Structural Drying Techniques After Water Damage
When water damage strikes, can you afford to wait? Effective structural drying is vital to