Contents
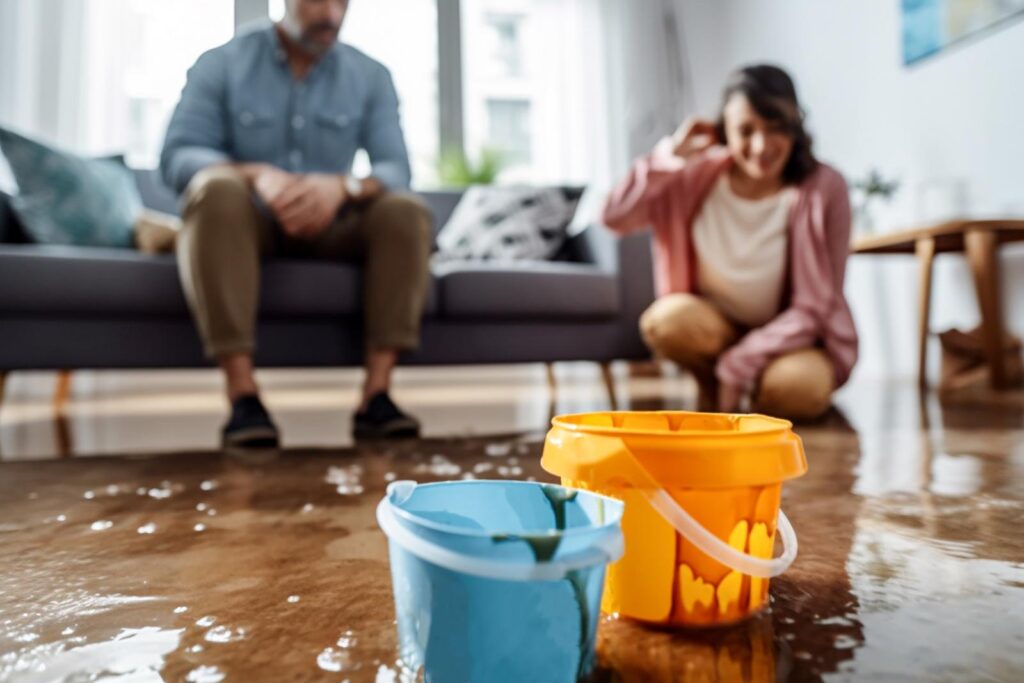
Water damage can escalate quickly, making timely action vital. By opting for DIY water extraction methods, you not only save on labor costs but also gain control over the restoration process. This approach allows you to respond immediately and minimize further damage. However, before you jump in, it’s important to understand the steps involved and the tools required for effective extraction. What do you need to know to get started?
Key Takeaways
- DIY water extraction methods save on labor costs, allowing homeowners to tackle issues without professional help.
- Immediate action through DIY can minimize water damage and prevent further complications, such as mold growth.
- Gaining hands-on experience with DIY projects enhances skills for future home maintenance and repairs.
- Sharing knowledge within the community fosters collaboration and resourcefulness among homeowners facing similar challenges.
- Essential tools for DIY water extraction are often accessible and can be used repeatedly for various home projects.
Understanding the Importance of Water Extraction
Water extraction is essential for various applications, from agriculture to disaster response. You mightn’t realize it, but effective water extraction can greatly impact your community’s health and safety.
In agricultural settings, timely extraction guarantees crops receive adequate moisture without drowning their roots. For homeowners, quick removal of standing water prevents mold growth and preserves property value.
When disaster strikes, such as flooding, your ability to extract water efficiently can mean the difference between saving or losing essential belongings. Understanding the importance of water extraction empowers you to act swiftly, guaranteeing safety for your family and neighbors.
Assessing the Severity of Water Damage
To effectively assess the severity of water damage, you need to determine the damage level and identify affected areas.
Start by inspecting walls, floors, and ceilings for signs of moisture or structural integrity issues.
This initial evaluation will guide your next steps in the extraction and remediation process.
Determine Damage Level
While evaluating the severity of water damage, you need to take into account various factors that can considerably impact the restoration process.
Start by identifying the source of the water—clean, gray, or black—as this will influence the level of urgency. Next, assess how long the water has been present; the longer it lingers, the more structural integrity and health risks arise.
Check for visible signs like warping, discoloration, or mold growth, as these indicate deeper issues. Additionally, consider the materials affected—different surfaces absorb water differently, affecting drying times and necessary treatments.
Identify Affected Areas
Identifying affected areas is essential for evaluating the severity of water damage and planning your extraction efforts effectively.
Start by inspecting visible signs like discoloration, buckling, or mold growth on walls and floors. Don’t overlook hidden spaces, such as behind appliances or inside cabinets, where moisture may linger.
Use a moisture meter if you have one, as it can help pinpoint damp spots that aren’t immediately apparent. Pay attention to the type of materials involved—wood, drywall, and insulation respond differently to water exposure.
Cost-Effectiveness of DIY Water Extraction
How can you determine the cost-effectiveness of DIY water extraction methods? First, consider the immediate savings compared to hiring professionals. You’ll likely spend less on materials and tools than on labor costs.
Calculate your potential expenses, including any necessary supplies and your time investment. If you’re skilled at handling repairs, your savings increase even further.
Next, assess the long-term benefits. DIY methods often allow you to address the problem immediately, minimizing damage and reducing the chances of mold growth, which can be costly.
By investing your time and effort, you’re not just saving money; you’re gaining valuable experience that can serve you in future projects.
Finally, weigh these factors against the potential risks. If you feel confident in your abilities, DIY water extraction can be a smart, cost-effective choice that fosters a sense of community and shared knowledge among fellow homeowners.
Essential Tools and Equipment for DIY Methods
Determining the cost-effectiveness of DIY water extraction is just the beginning; having the right tools and equipment is vital to successfully tackle the task.
You’ll need reliable gear to guarantee your efforts yield the best results. Here’s a list of must-have tools:
Wet/Dry Vacuum: This versatile tool can efficiently remove water from carpets, floors, and other surfaces, making it an important part of your toolkit.
Dehumidifier: This device helps reduce moisture in the air, preventing mold growth and promoting faster drying after extraction.
Protective Gear: Equip yourself with gloves, masks, and waterproof boots to guarantee your safety while working in potentially hazardous conditions.
With these essential tools, you’re better prepared to handle water extraction challenges effectively, helping you regain control of your living space and foster a sense of community in tackling such issues together.
Step-by-Step Guide to DIY Water Extraction
When faced with a water extraction situation, following a clear step-by-step guide can make a significant difference in efficiency and effectiveness. Here’s how you can tackle the process:
| Step | Action | Tools Needed |
|---|---|---|
| 1 | Assess the area | Moisture meter, flashlight |
| 2 | Remove excess water | Shop vacuum, mop |
| 3 | Dry the area | Fans, dehumidifier |
| 4 | Sanitize surfaces | Cleaning solution, cloths |
| 5 | Monitor progress | Humidity gauge |
Safety Precautions During Water Extraction
When extracting water, it’s essential to prioritize your safety by using appropriate personal protective equipment (PPE). This includes gloves, goggles, and masks to shield yourself from contaminants.
Additionally, be mindful of electrical safety measures to prevent hazards when operating equipment in wet conditions.
Personal Protective Equipment
Although water extraction can be a straightforward process, ensuring your safety should always be your top priority.
Wearing the right personal protective equipment (PPE) is vital to prevent injuries and health issues. Here are three essential items you should use:
Gloves: Protect your hands from contaminants and sharp objects.
Boots: Wear waterproof, slip-resistant boots to prevent slips and protect your feet.
Masks: Use masks to shield your respiratory system from mold spores and other airborne particles.
Electrical Safety Measures
Before starting water extraction, it’s crucial to guarantee that all electrical sources are either turned off or properly secured to prevent hazards.
Begin by unplugging appliances and removing extension cords from the affected area. If the water level is high, consider shutting off the main power supply to minimize risks.
Always wear rubber-soled boots and gloves to provide insulation against electrical shock. Use a ground fault circuit interrupter (GFCI) to verify any tools you use are safe from electrical surges.
Avoid using equipment in damp areas unless it’s specifically designed for such conditions.
Remember, prioritizing electrical safety not only protects you but also fosters a secure environment for everyone involved in the extraction process.
Stay safe and work smart!
Long-Term Benefits of DIY Water Extraction Techniques
As you explore DIY water extraction techniques, you’ll find that their long-term benefits extend beyond immediate water access to encompass sustainability, cost savings, and enhanced resilience.
By adopting these methods, you not only secure a reliable water source but also contribute positively to your environment and community.
Here are three significant long-term benefits:
Sustainability: Implementing DIY methods promotes the use of renewable resources, reducing your carbon footprint and reliance on municipal water systems.
Cost Savings: Over time, you’ll save money on water bills and equipment by learning to extract and purify water using affordable materials and techniques.
Enhanced Resilience: Mastering DIY extraction fosters self-sufficiency, empowering you to withstand droughts or emergencies without relying solely on external sources.
Embracing these techniques builds not just your skills but also a sense of belonging within a community focused on resourcefulness and sustainability.
Recap
So, if you think plunging into DIY water extraction is like channeling your inner superhero, think again! While it’s tempting to save a few bucks and flex those skills, remember that water’s a sneaky foe. Sure, you’ll save on labor costs and earn bragging rights, but you might also turn your home into a DIY disaster zone! So, weigh your options wisely—because sometimes, calling in the professionals is the real superpower you need to avoid future floods of regret.
Recent Posts
Guide to Structural Drying After Water Damage
When faced with water damage, it’s essential to act swiftly and methodically. You’ll need to
Effective Structural Drying Techniques After Water Damage
When water damage strikes, can you afford to wait? Effective structural drying is vital to
Top 10 Structural Drying Methods After Water Damage
In the aftermath of water damage, the environment can feel like a sponge, saturated and