
Contents
Many homes that experience a sewage backup develop mold within days when moisture and contamination are left untreated. Mold Remediation Steps After a Backup begin by stopping the water source, removing standing water, and isolating the affected area. Next, wear proper PPE and have contaminated materials assessed before handling or removal. Discard porous items that cannot be safely salvaged, dry the space thoroughly, and sanitize appropriate surfaces using suitable methods. Because sewage can contain harmful pathogens, extensive contamination should be handled by qualified remediation professionals to help ensure hidden moisture and hazards are addressed.
Key Takeaways
- Stop the backup immediately and remove standing water to limit further damage and contamination.
- Wear PPE, including gloves, eye protection, boots, and an N95 respirator, before cleanup begins.
- Remove porous or mold-damaged materials, sealing them in plastic bags for safe disposal.
- Dry the affected area completely with fans, dehumidifiers, and ventilation to prevent mold growth.
- Sanitize hard surfaces and inspect for mold daily, addressing any recurring dampness or discoloration.
Stop the Backup and Remove Water
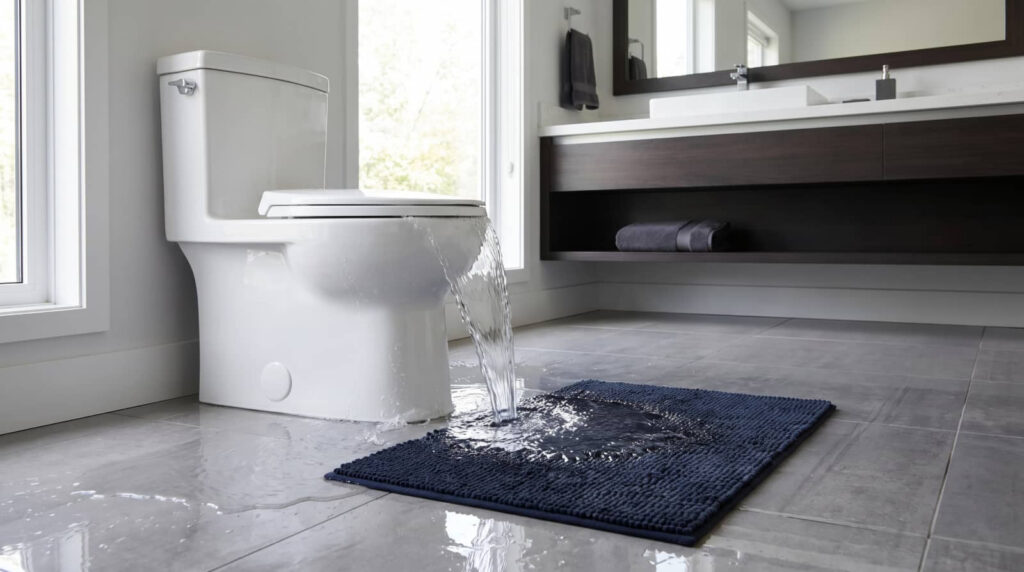
Before you begin cleanup, stop the source of the backup and remove standing water as quickly as possible. You should shut off the affected supply or drain line, then isolate the area so the water doesn’t spread farther.
Use pumps, wet vacuums, or absorbent tools for water extraction, and work from the edges toward the center. Keep flooring seams, baseboards, and low spots under control, because trapped moisture can fuel mold growth.
If the backup came from a repeat failure, document the cause now so you can support backup prevention later. You’re not handling this alone; a coordinated response helps your space recover faster and safer.
Remove wet contents only after you’ve cleared the visible water, and keep disposal paths clean so you don’t recontaminate adjacent rooms.
Protect Yourself First
Put on personal protective equipment before you touch contaminated materials, because even a small cleanup can expose you to mold spores, bacteria, and sharp debris.
You should treat every wet surface as hazardous and keep your personal safety first. Wear protective gear that includes gloves, eye protection, long sleeves, waterproof boots, and an N95 or better respirator if mold is visible or dust is present.
Make sure your gear fits snugly and stays intact throughout the job. If you have cuts, asthma, or allergies, don’t enter the area without extra precautions.
Wash your hands and exposed skin after each task, and change contaminated clothing immediately. Work with a partner if possible so someone can call for help if you get injured or feel unwell.
Remove Contaminated Materials
Start by removing any materials that are porous, swollen, or visibly mold-damaged, since items like drywall, insulation, carpet, ceiling tiles, and paper products usually can’t be effectively cleaned.
You should place each item into sealed plastic bags or wrapped bundles before carrying them out, so spores don’t spread through shared spaces.
Use approved mold disposal methods that match local waste rules, and keep contaminated material safety your priority by avoiding tearing, shaking, or compacting debris.
Label bags if required, and separate salvageable items from waste to prevent cross-contamination.
Wear gloves, eye protection, and a fitted respirator while you work.
If you’re part of a team, coordinate each removal step clearly so everyone stays protected and aligned.
Clean tools after each load, and wash hands once you finish handling contaminated materials.
Dry the Area Thoroughly
Once contaminated materials are removed, dry the entire area completely with fans, dehumidifiers, and increased ventilation to bring moisture levels down fast.
You’ll protect your space by keeping air moving across floors, walls, and hidden cavities, because stagnant moisture raises risk.
Use dehumidifier usage strategically: place units where humidity lingers, empty them often, and verify they’re sized for the room.
Keep doors open when safe, and maintain strong air circulation so wet surfaces release moisture evenly.
Check framing, subfloors, and baseboards for dampness, and continue drying until readings stabilize.
You’re part of a careful recovery process, so stay consistent and document progress.
Don’t rush this step; complete drying helps your team move forward with confidence and control.
Sanitize the Area and Check for Mold
After the area is fully dry, sanitize all nonporous surfaces with a mold-killing or EPA-registered disinfectant, following the label’s dwell time and safety instructions.
You should scrub visible residue first, then wipe surfaces clean to support effective sanitization methods and reduce hidden contamination.
Wear gloves, eye protection, and a respirator if spores may aerosolize.
- Inspect baseboards, drywall seams, and corners for discoloration.
- Use mold identification techniques: smell checks, visual spotting, and moisture readings.
- Remove any porous items that still show staining, swelling, or musty odor.
- Recheck the area daily for 48 hours for new growth or dampness.
If you find recurring spots, isolate the space and call a qualified remediation team.
Staying methodical helps you protect your home and your people.
Frequently Asked Questions
How Soon Should I Call My Insurance Company After a Backup?
Call your insurance company immediately, ideally within 24 hours, so you can confirm insurance coverage and document the backup. You’ll protect backup prevention efforts, preserve claims evidence, and stay aligned with your team’s safety plan.
Can I Stay in the House During Mold Remediation?
You can stay only if you’re not in the affected area and you follow safety precautions; otherwise, mold remediation can create health risks. Ask your contractor about containment, ventilation, and temporary relocation options.
Do I Need a Professional Assessment Before Repairs Begin?
Yes—before you start repairs, you should get a mold assessment and professional evaluation, shouldn’t you? You’ll identify hidden damage, confirm contamination levels, and protect your crew, so everyone feels safe and confident moving forward.
What Documentation Should I Keep for Insurance Claims?
Keep photos, videos, dates, receipts, contractor reports, moisture readings, disposal records, and communication logs for the claim process. These documentation tips help you support losses, meet insurer requirements, and protect your team.
How Long Does Mold Remediation Usually Take After a Backup?
You’ll usually see mold remediation take 3–7 days, though a bigger backup can extend the remediation timeline. You should act fast, because mold growth can start within 24–48 hours and increase health risks.
Review
After a backup, you need to act fast and follow each remediation step in order. Stop the water source, remove standing water, wear proper PPE, and take out contaminated porous materials. Then dry the area completely with fans and dehumidifiers before sanitizing all surfaces. Keep checking for mold growth during follow-up inspections. If you skip a step, you’re opening a Pandora’s box of problems that can spread quickly and threaten the space.
Recent Posts
Why Remediate Mold After Sewage Backup?
You need to clean, dry, and disinfect after a sewage backup, and you need to
Commercial Water Extraction for Backup Cleanup
When a sewer line overflows, you need to act fast to limit contamination and disruption.
3 Tips for Fast Commercial Water Extraction
If you shut off the sewage source first, you can help limit secondary damage before