Contents
Did you know that nearly 50% of homes affected by water damage cleanup develop mold within just 24 to 48 hours? This statistic underscores the importance of mold testing after cleanup. Even if the visible signs of mold are gone, hidden spores may linger, posing health risks. Understanding the testing methods available can help you identify any remaining issues. But what do you do once you have those results?
Key Takeaways
- Mold can develop within 24 to 48 hours after water exposure, making post-cleanup testing crucial.
- Even after cleanup, mold spores may remain hidden; testing can identify these risks.
- Air and surface sampling methods provide accurate data on mold presence in your home.
- Professional mold testing ensures thorough evaluation, while DIY methods may lack effectiveness.
- Maintaining proper humidity levels and regular inspections can help prevent future mold growth.
Importance of Mold Testing After Water Damage
When water damage occurs, it’s imperative to understand the potential for mold growth, as even minor leaks can lead to significant health risks.
Mold health issues can arise quickly, often within 24 to 48 hours after moisture exposure, making prompt action essential. You might think that a thorough cleanup is enough, but mold spores can linger and spread if not properly addressed.
Testing for mold after water damage guarantees that you identify any hidden growth that could impact your well-being.
It’s crucial to follow established cleanup timelines, as delaying action may worsen the situation. By prioritizing mold testing, you take an important step toward safeguarding your living space and maintaining a healthy environment for those you care about.
Understanding the importance of this process fosters a sense of belonging, as you contribute to a safe community where everyone can thrive without the threat of mold-related health issues.
Signs of Mold Growth to Look For
Although mold can be hidden from plain sight, there are several key signs to watch for that indicate its presence.
Look for a musty odor, which often signals specific mold types flourishing in damp areas. Discoloration on walls or ceilings—especially black, green, or orange patches—can suggest mold growth conditions are met.
If you notice peeling paint or wallpaper, it may be a result of moisture retention, creating an ideal environment for mold. Additionally, check for visible water leaks or condensation, as these can promote mold proliferation.
Pay attention to respiratory issues or allergic reactions among household members, which may indicate airborne mold spores.
Mold Testing Methods and Techniques
Several effective mold testing methods can help identify and quantify mold presence in your home. One popular approach is air sampling, which involves collecting air samples to assess the concentration of mold spores in your indoor environment. This air quality assessment can reveal potential issues that mightn’t be visible.
Another method is surface sampling, where you take samples from areas suspected of mold growth. Techniques like tape lifts or swabs allow you to capture mold directly from surfaces, providing clear evidence of contamination.
Bulk sampling can also be useful, particularly if you have materials that are suspected of harboring mold. Each of these mold sampling techniques contributes valuable data in evaluating your home’s mold situation.
Interpreting Mold Test Results
How do you make sense of the numbers and findings from mold tests? First, look at the mold spore types detected. Common ones include Aspergillus, Cladosporium, and Penicillium, each indicating different potential health risks and environmental conditions.
Compare the spore counts to established baseline levels for your area. High levels of certain mold types may suggest an ongoing issue that warrants further investigation.
Next, consider the test result interpretation regarding indoor versus outdoor spore concentrations. Ideally, indoor levels should be lower than outdoor counts. If you find higher indoor levels, it may signal a problem that needs addressing.
Also, pay attention to any unique findings, such as toxic mold presence, which could affect your health.
Remediation Strategies for Mold Removal
When it comes to mold removal, you’ll need to contemplate effective techniques tailored to your specific situation.
Understanding preventative measures after cleanup is essential to avoid future outbreaks, and you must weigh the pros and cons of professional versus DIY approaches.
Each option has its merits, and making an informed choice can greatly impact your home’s health.
Effective Mold Removal Techniques
Although mold can quickly become a serious problem after water damage, effective remediation strategies can help restore your space to a safe and healthy environment.
One of the most reliable techniques is using chemical treatments specifically designed for mold removal. These products penetrate surfaces, effectively killing mold spores and preventing regrowth.
Additionally, implementing air filtration systems can greatly reduce airborne mold particles, improving indoor air quality. HEPA filters are particularly effective, capturing even the smallest spores.
Combining these methods not only guarantees thorough mold removal but also fosters a sense of safety and well-being in your home.
Preventative Measures Post-Cleanup
After addressing mold removal, it’s important to implement preventative measures to guarantee that mold doesn’t return.
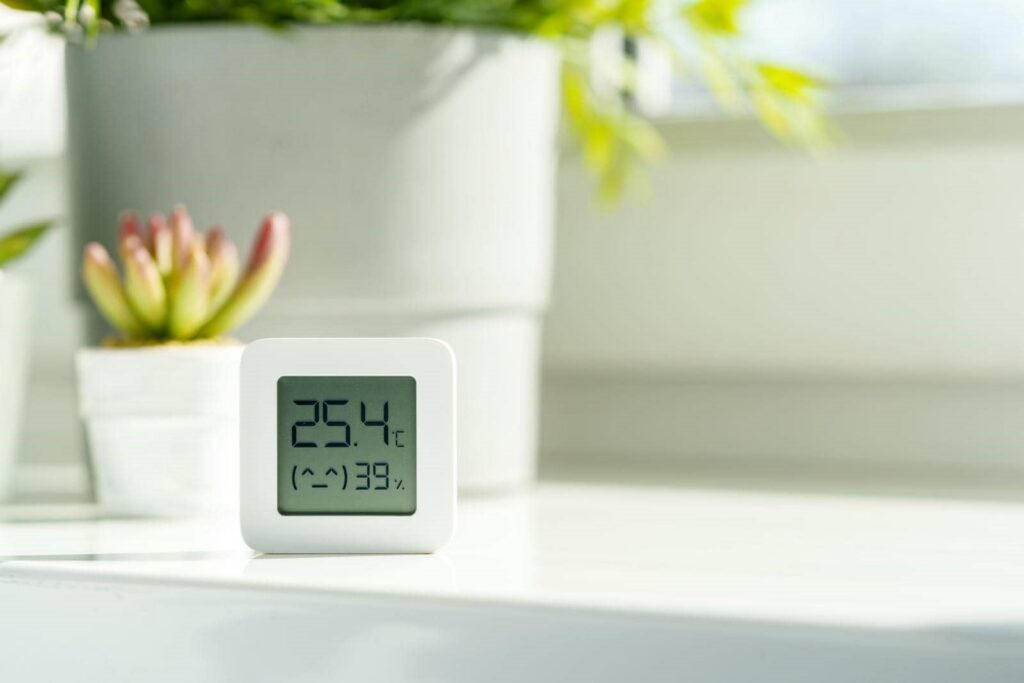
By focusing on humidity control and ensuring proper air circulation, you can create an environment that’s less hospitable to mold.
Here are three effective strategies:
Monitor Humidity Levels: Keep indoor humidity below 50% using dehumidifiers or air conditioning.
Enhance Air Circulation: Use fans and open windows to promote airflow, especially in high-moisture areas like bathrooms and kitchens.
Regular Inspections: Routinely check for leaks and water damage, addressing any issues immediately to prevent mold growth.
Professional vs. DIY Approaches
Choosing between professional mold remediation and a DIY approach requires careful consideration of several factors, as both options have distinct advantages and potential drawbacks.
Professional expertise brings tools and knowledge to handle extensive mold infestations effectively, ensuring safety and thoroughness. They can identify hidden mold sources and provide long-lasting solutions. However, this option can be costly, which may not suit everyone’s budget.
On the other hand, a DIY approach offers affordability and immediate action, but it has limitations. You might miss hidden mold or fail to use proper protective gear, risking health problems.
Additionally, DIY solutions often don’t guarantee complete removal, leading to recurring issues. Ultimately, weigh your comfort level, expertise, and the extent of the mold problem before deciding.
Preventive Measures to Avoid Future Mold Issues
To effectively prevent future mold issues, it’s essential to address the root causes of moisture in your home.
Implementing preventive maintenance and humidity control strategies can greatly reduce the risk of mold growth. Here are three key measures you can take:
Regular Inspections: Routinely check for leaks in plumbing, roofs, and windows. Early detection can save you from extensive damage.
Humidity Control: Keep indoor humidity levels between 30-50%. Use dehumidifiers in damp areas and guarantee proper ventilation in bathrooms and kitchens.
Prompt Cleanup: If any water damage occurs, clean and dry the affected areas within 24-48 hours to minimize mold development.
Frequently Asked Questions
How Long After Cleanup Should Mold Testing Be Done?
You should conduct mold testing within 24 to 48 hours post-cleanup. This timeframe aligns with mold growth timelines, ensuring you accurately assess the effectiveness of your cleanup procedures and prevent potential health risks.
Can Mold Grow During Winter Months?
Yes, mold can grow during winter months. Winter conditions, like indoor humidity and warmth, create an environment conducive to mold growth. Maintaining proper ventilation and humidity levels is essential to preventing mold in your home.
Is DIY Mold Testing Effective?
DIY mold testing kits might seem like a fun science project, but they often lack accuracy. For reliable results, you’re better off opting for professional services that guarantee thorough and effective mold detection.
What Are the Costs Associated With Mold Testing?
Mold inspection costs typically range from $200 to $600, depending on the size of your space and testing methods used. Investing in professional testing guarantees accurate results and helps protect your health and home.
How Often Should I Conduct Mold Testing?
You should conduct mold testing every six months to a year, especially if you’re in a humid area. Regular testing helps catch mold growth early, ensuring a safer environment for you and your loved ones.
Summary
Mold testing after water damage isn’t just a precaution; it’s a necessity. Imagine finally settling into your home, only to discover hidden mold lurking behind the walls. By conducting thorough testing, you can catch these unwanted guests early, ensuring your space remains healthy and safe. Remember, it only takes a little moisture for mold to thrive. Stay proactive, and you’ll not only protect your home but also your well-being and peace of mind.
Recent Posts
Why Improve Indoor Air Quality After Water Damage?
After experiencing water damage, you might find your home in need of a little TLC.
5 Tips for Better Indoor Air Quality Post-Water Damage
You might think that once the water’s gone, the indoor air quality will naturally improve,
What Enhances Indoor Air Quality After Water Damage?
Many people underestimate the lingering effects of water damage on indoor air quality. After such